Hanfu, the traditional clothing of the Han Chinese, is more than just a garment—it is a cultural treasure that has evolved over thousands of years. Understanding the Hanfu making process helps us appreciate the craftsmanship, philosophy, and artistry behind each piece. In this article, I will walk you through the key stages of creating authentic Hanfu, from selecting the right fabric to the final stitching details.
How to choose fabric for Hanfu

Fabric selection is the foundation of any Hanfu project. Traditionally, Hanfu is made from natural materials like silk, linen, cotton, and ramie. Silk was reserved for the wealthy and ceremonial wear, while linen and cotton were common for daily use. When choosing fabric, consider the drape and breathability—Hanfu features wide sleeves and flowing layers that need soft, lightweight materials. Avoid stiff or synthetic fabrics, as they won’t create the elegant movement Hanfu is known for. Many modern makers also use blended natural fibers for affordability, but pure silk or high-quality linen remains the gold standard for authenticity.
Essential tools for making Hanfu
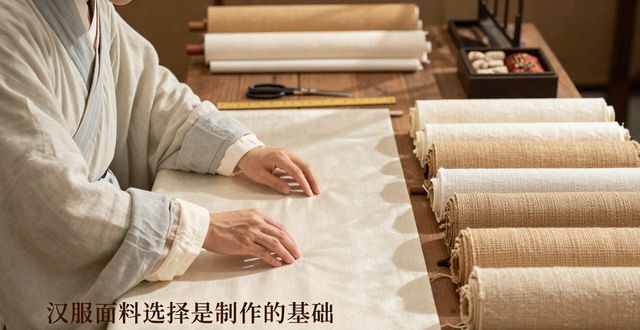
Before cutting any fabric, you need the right tools. Traditional Hanfu making relies on simple but precise equipment: a long wooden ruler for measuring, fabric scissors, tailor’s chalk, a bone needle or sewing awl, and thread made of silk or cotton. Unlike Western tailoring, Hanfu rarely uses paper patterns; instead, measurements are directly marked on the fabric using body proportions. A curved needle helps with the hidden stitches common in Hanfu, and a smoothing tool (like a wooden burnisher) is used to press seams without an iron. For beginners, start with basic sewing kits, but invest in quality scissors—clean cuts prevent fraying and ensure straight lines for the iconic crossed collars.
Step by step Hanfu cutting and sewing
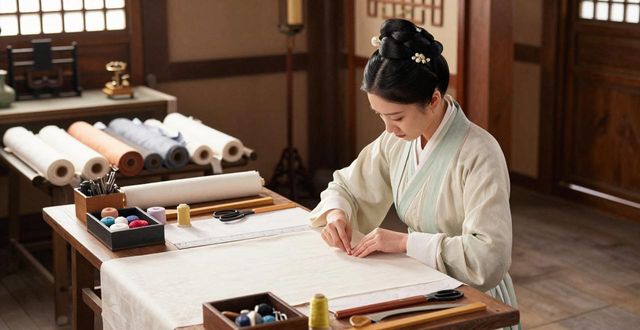
The cutting process follows a unique geometry. Lay your fabric flat and fold it along the center line. Hanfu pieces are mostly rectangular—no complex darts or curves. The main components are the collar (jiaoling), sleeves (xiu),and body panels (yi). First, cut the main body as a large rectangle, then cut two identical rectangles for sleeves. The collar is a curved strip that crosses over the chest. Sew the shoulder seams first, then attach the sleeves. The most distinctive step is the crossing collar: the left panel wraps over the right (for men) or right over left (for women), secured with a sash (dai). Use running stitches for seams and blind stitches for hems. Take your time on the collar—it determines the entire look.
Common mistakes in Hanfu making
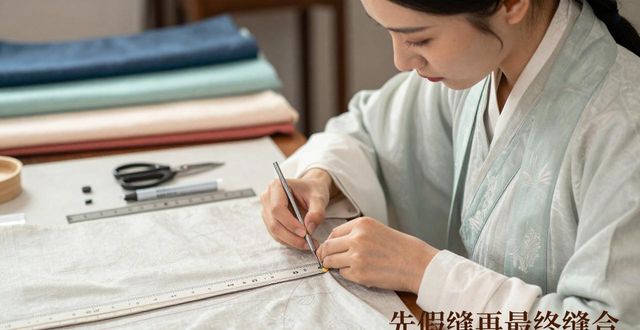
Many beginners rush the collar alignment. A crooked collar ruins the silhouette, so always baste (temporary stitch) before final sewing. Another mistake is using too much fabric—Hanfu looks best with moderate fullness; overly wide sleeves can look sloppy. Also, forgetting the “hidden seam” philosophy: traditional Hanfu avoids exposed raw edges. Use rolled hems or bias binding for all cut edges. Finally, don’t skip the sash. Without the right length and width (usually 3 meters long and 10 cm wide), the garment won’t close properly. Measure your waist twice, and always wash and iron fabric before cutting to prevent shrinkage distortion.
Now that you’ve learned the basic Hanfu making process, I’d love to hear from you: What part of making Hanfu do you find most challenging—the fabric choice, collar sewing, or fitting the sleeves? Share your experience in the comments, and don’t forget to like and share this guide with fellow Hanfu enthusiasts.