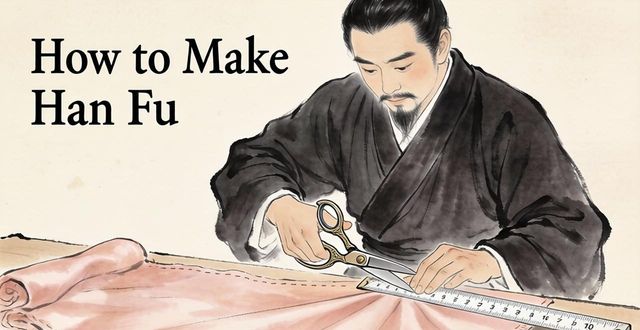
Hanfu, the traditional clothing of the Han Chinese, has a history spanning over 3,000 years. Its flowing robes, wide sleeves, and crossed collars are not just beautiful—they represent a deep cultural heritage. However, making an authentic Hanfu involves a detailed process that requires patience, precision, and an understanding of ancient tailoring techniques. In this guide, I will walk you through the essential steps of Hanfu making, from fabric selection to final stitching, so you can appreciate the craftsmanship behind this timeless garment.
What fabrics are best for Hanfu

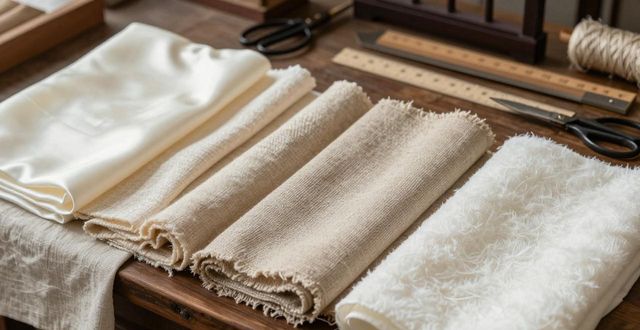
Choosing the right fabric is the first and most critical decision. Traditional Hanfu is often made from natural fibers like silk, linen, ramie, or cotton. Silk is the most prestigious, giving a smooth drape and subtle sheen,but it is expensive and delicate. Linen and ramie are breathable and crisp, ideal for summer wear, while cotton offers comfort and affordability. For beginners, medium-weight cotton or linen blends are recommended because they are easier to cut and sew without fraying excessively. Avoid stretchy or synthetic materials, as Hanfu relies on structured, flowing shapes that polyester cannot replicate.
How to take accurate body measurements
Unlike Western tailoring, Hanfu uses a loose, wrap-around design that does not require complex darts or shaping. However, precise measurements are still crucial. You will need the chest circumference, waist circumference, hip circumference, shoulder width, arm length, and the desired garment length. For the typical “jiaoling youren” (crossed collar with right overlap), measure from the shoulder point down to the hem. Also measure the sleeve length from the center back of the neck to the wrist, then double it for full width. Always add 5–8 cm of ease for movement and seam allowance. Write down each measurement and double-check them before cutting any fabric.
Step-by-step pattern cutting and assembly
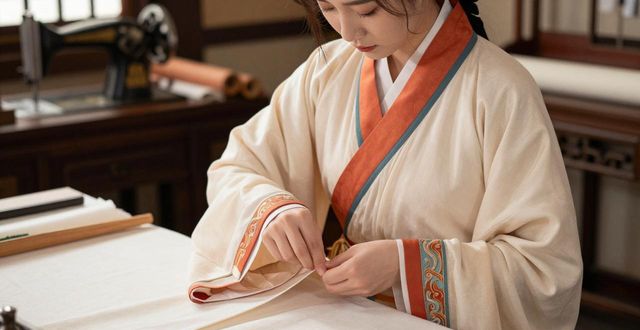
Start by washing and ironing your fabric to prevent shrinkage later. Lay the fabric flat on a large table. For the upper garment (yi), cut a rectangle for the back, two front panels, and two sleeves. The sleeves of Hanfu are typically wide and straight—often as wide as the garment itself. For the skirt (chang) or trousers (ku), cut long rectangular pieces. The key is that Hanfu is constructed with straight cuts and minimal curves. After cutting, sew the shoulder seams, then attach the sleeves. Next, sew the side seams from the armpit down to the hem. For the crossed collar, fold and hem the front edges, then add a hidden button or tie at the right underarm. All seams should be finished with a hem or overlock stitch to prevent fraying.
Adding authentic finishing touches
The final step is where your Hanfu comes to life. Hem the bottom edges of the garment and sleeves with a narrow double-fold hem. For a traditional look, add piping (gun bian) along the collar and sleeve openings using contrasting fabric. Many Hanfu also feature decorative bands on the cuffs or a belt (shen dai) to cinch the waist. If you want embroidery, keep it simple—a small cloud or flower motif at the collar or hem is historically accurate. Finally, give the entire garment a good press with an iron, and try it on to check the fit. Remember that Hanfu should drape loosely and gracefully, not cling tightly.
Now that you understand the basic Hanfu making process, I’d love to hear from you: which part of the craft do you find most challenging or exciting—choosing fabrics, cutting patterns, or adding those beautiful finishing details? Please share your thoughts in the comments, and don’t forget to like and share this guide with fellow traditional clothing enthusiasts!