
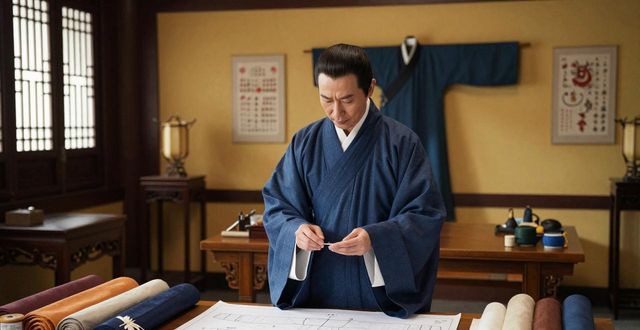
Hanfu, the traditional clothing of the Han Chinese, is more than just a garment—it’s a living piece of history. The process of making Hanfu involves precise measurements, deep cultural knowledge, and skilled handcraft. From choosing the right silk to stitching the last seam, every step matters. In this guide, I’ll walk you through the traditional Hanfu making process so you can appreciate or even try it yourself.
Understanding Hanfu Patterns and Designs

Before cutting any fabric, you need to understand the basic structure of Hanfu. Unlike Western tailored clothing, Hanfu uses straight cuts and flat patterns with minimal darts. The key features include a crossed collar (jiao ling), right lapel over left (you ren), and a wide sleeve shape. Traditional Hanfu consists of several pieces: the upper garment (yi), lower skirt (chang), and often a belt or sash. Many beginners start with a simple ruqun (top plus skirt) because it has fewer pattern pieces. The pattern is usually drawn directly on paper using body measurements, then transferred to fabric. Remember that Hanfu is designed to flow naturally, so seam allowances are kept narrow and edges are finished with hidden hems.
Selecting the Right Fabrics and Materials
Fabric choice dramatically affects how your Hanfu looks and moves. Historically, Hanfu was made from silk, hemp, ramie, or cotton. For authenticity, silk satin or silk chiffon gives a luxurious drape and that classic shimmer. If you’re on a budget, high-quality cotton or linen blends work well for daily wear. Avoid stiff or overly elastic fabrics because they won’t create the soft folds Hanfu is known for. You’ll also need thread that matches your fabric, a ruler, fabric scissors, pins, a marking tool, and an iron. Traditional makers also use starch to stiffen edges before sewing. For decorations, prepare embroidery floss, ribbons, or tassels. When buying fabric, get at least 2.5 meters for a ruqun top and 3 meters for the skirt, plus extra for the collar and cuffs. Pre-wash all fabrics to prevent shrinking later.
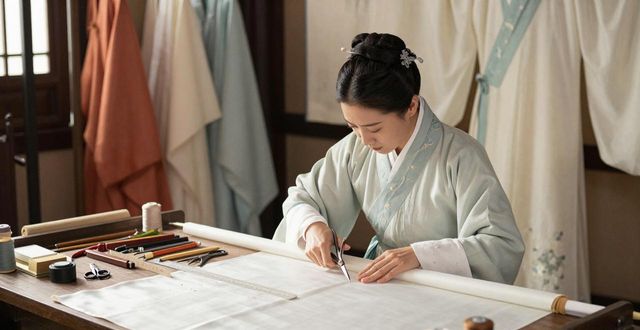
Cutting Sewing and Assembling the Garment
Lay your fabric flat on a large table and place the paper pattern on top, following the grainline. Pin it down and trace around the edges with chalk. Cut carefully along the lines, keeping the scissors at a steady angle. The first piece to sew is usually the collar band—it’s the most visible part. Fold the collar strip in half lengthwise, sew along the long edge, turn it right side out, and press with an iron. Attach the collar to the front opening, making sure the right side crosses over the left. Next, sew the shoulder seams, then the side seams from armpit to hem. For the sleeves,attach them flat before sewing the underarm and side together. A traditional Hanfu sleeve is wide, so leave a small opening for the hand. The skirt is gathered at the waist using long running stitches, then attached to a waistband. Use backstitches at stress points for durability. Throughout assembly, press every seam flat—this gives that crisp, professional look.
Adding Traditional Embellishments and Finishing Touches
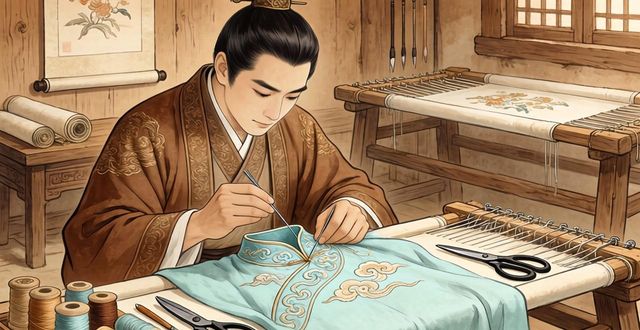
Now comes the artistic part. Many Hanfu pieces feature embroidered motifs like clouds, cranes, peonies, or dragons. You can hand-embroider these along the collar, sleeve edges, or hem. If hand embroidery feels too advanced, use decorative ribbons or Chinese-style braided trims instead. Another common detail is the “piping” on the collar and cuff edges—a thin folded strip of contrasting fabric. After adding all decorations, hem the bottom edges with a blind stitch. The final step is to attach ties: two short fabric strips on each side of the collar so you can wrap and knot the garment closed. Give the entire Hanfu a final press with a steam iron, checking that all threads are trimmed and seams lie flat. Hang it on a wide wooden hanger to preserve the shape. Proper finishing turns a handmade piece into an heirloom.
Now I’d love to hear from you: Have you ever tried making your own Hanfu, and which part of the process do you think would be the most challenging for you? Share your thoughts in the comments below, and don’t forget to like and share this guide with fellow sewing enthusiasts!