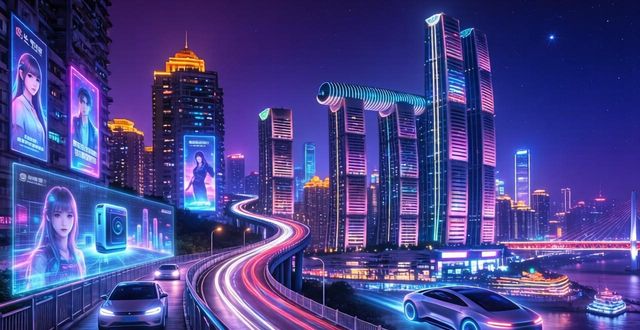
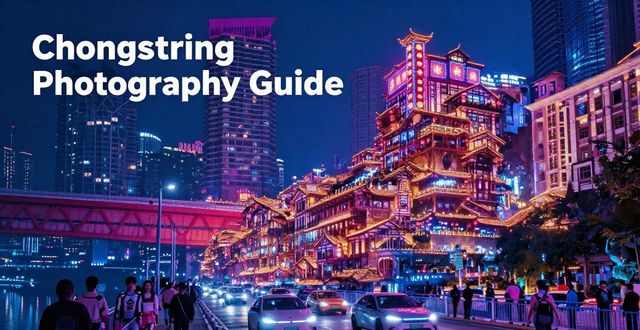
Chongqing has emerged as one of the world’s most striking cyberpunk cityscape destinations. Its layered highways, dizzying skyscrapers, and neon-lit alleys create a futuristic aesthetic that rivals any sci-fi movie. For photographers seeking that Blade Runner vibe, this sprawling mountain city offers endless opportunities. In this guide, I’ll share practical tips on where to shoot, what gear to bring, and how to nail the post-processing.
Best spots for cyberpunk cityscape photos

Start at Hongyadong at night. The ancient stilt-house complex glows with warm orange lanterns, contrasting sharply against the modern Jiangbeic CBD’s blue glass towers. Position yourself on Qiansimen Bridge for a wide-angle shot that captures both. Another must-visit is the Liziba Light Rail Station, where a train passes right through a residential building. Frame it with long exposure to emphasize motion trails against the building’s textured facade. For gritty underground vibes, explore the alleys around Jiefangbei after rain. Wet asphalt reflects red and green neon signs from small hotpot shops, creating that classic cyberpunk mirror effect.
Essential gear for night photography
You don’t need a full cinema rig. A sturdy tripod is non-negotiable for sharp long exposures. I recommend a travel carbon fiber model because you’ll climb many stairs in Chongqing. For lenses, bring a fast prime like a 24mm f/1.4 or a 35mm f/1.8 to capture wide scenes while letting in enough light. Zoom lenses with f/2.8 are also great but heavier. An ND filter helps when you want to blur moving clouds or crowds during blue hour. Finally, pack a rain sleeve – the city’s famous fog and sudden drizzles can ruin electronics. A small LED panel is optional but useful for adding fill light to foreground subjects like a passing taxi.
Camera settings for neon-drenched streets
Shoot in manual mode. Set your aperture between f/8 and f/11 for deep depth of field that keeps both foreground rails and distant skyscrapers sharp. Keep ISO as low as possible – 100 to 400 – to avoid noise in dark areas. Shutter speed depends on subject: 1/15s to 1/30s for static scenes with tripod, or 1/60s to 1/125s if shooting handheld. For light trails, use 2 to 10 seconds. White balance is crucial. Set it to 4500K to 5000K to preserve the cool blue of LED signs while keeping warm sodium lamps from turning muddy. Better yet, shoot in RAW and adjust later. Use manual focus in low light; autofocus often hunts on reflective wet surfaces.
Post‑processing tips for cyberpunk look

Start in Lightroom or Capture One. Push the temperature slightly cooler (around 4200K) and tint towards magenta. Increase clarity and texture to enhance structural details on concrete and glass. Then open Photoshop. Create a cyan and orange split tone: add cyan to shadows and orange to highlights. Use a selective color adjustment layer to make reds more vibrant and cyans deeper. For that holographic sign effect,duplicate the background layer, apply a 2‑pixel Gaussian blur, then set blend mode to Screen at 20% opacity. Remove distracting real‑world elements like trash cans or street signs using the spot healing brush. Finally, add a subtle vignette to draw the eye to the brightest neon clusters.
Now it’s your turn. Have you shot cyberpunk cityscapes in another megacity like Tokyo or Shanghai? How would you compare the atmosphere to Chongqing? Drop your thoughts and sample shots in the comments – and don’t forget to share this guide with fellow night photographers.